
Turning your favorite photo into a hand-drawn illustration using a pen plotter is easier than you think!
In this guide, you’ll learn step-by-step how to convert an image to SVG format and draw it using the iDraw H SE pen plotter. This workflow is perfect for artists, hobbyists, and creative professionals looking to combine digital design with analog drawing beauty.
Follow the steps below — image placeholders are kept so you can insert visuals along the way.
Step 1: Choose and prepare your image
Select a photo or artwork you love. To get clean stroke results, remove the background first.
You can use software like Photoshop, or any free online background remover tool.
For this tutorial, I found a picture of Sun Wukong (Monkey King) using Google Images and removed its background.

Step 2: Download the cleaned image
Once the background is removed, download the transparent PNG/JPG image to your computer.

Step 3: Convert the image to SVG format
To convert the image into an SVG vector graphic, you can use professional tools like Adobe Illustrator — or a free online tool.
In this tutorial, we use:
https://image.online-convert.com/convert-to-svg
Upload your image to the converter.

Step 4: Adjust settings & convert
You may modify parameters like smoothness or vector detail if needed.
Then click Start to generate your SVG.

Step 5: Download the SVG file
Save the converted SVG file to your computer.

Step 6: Review the converted image
Here is what the converted SVG looks like after processing.

Step 7: Open SVG in Inkscape & set page size
We will finalize the SVG settings in Inkscape.
Open the SVG in Inkscape
Go to File > Document Properties
Set the page size to A4
Scale and center your image on the page

Then go to Object > Transform, choose Scale, and adjust to the desired size.
Move the artwork to the center of the page again.

As shown in the figure

Step 8: Convert fill areas to stroke lines
The black areas you see are rendered fills. For the pen plotter, we need line strokes instead of fills.
To disable the fill color:
Open Object > Fill and Stroke
Under Fill, choose No paint
Now the picture only shows outlines, which is perfect for plotting.

Step 9: Fill shaded areas with hatch lines
Now we need to fill the shaded regions using stroke patterns (hatching), so the plotter can imitate shading.
Go to:
Extensions > iDraw Utilities
Adjust two key settings:
Pen width (example: 0.3mm)
Fill angle (example: 45° diagonal lines)
Apply hatch fill until shading looks natural.

The artwork now looks like hand-drawn line art ready for plotting!

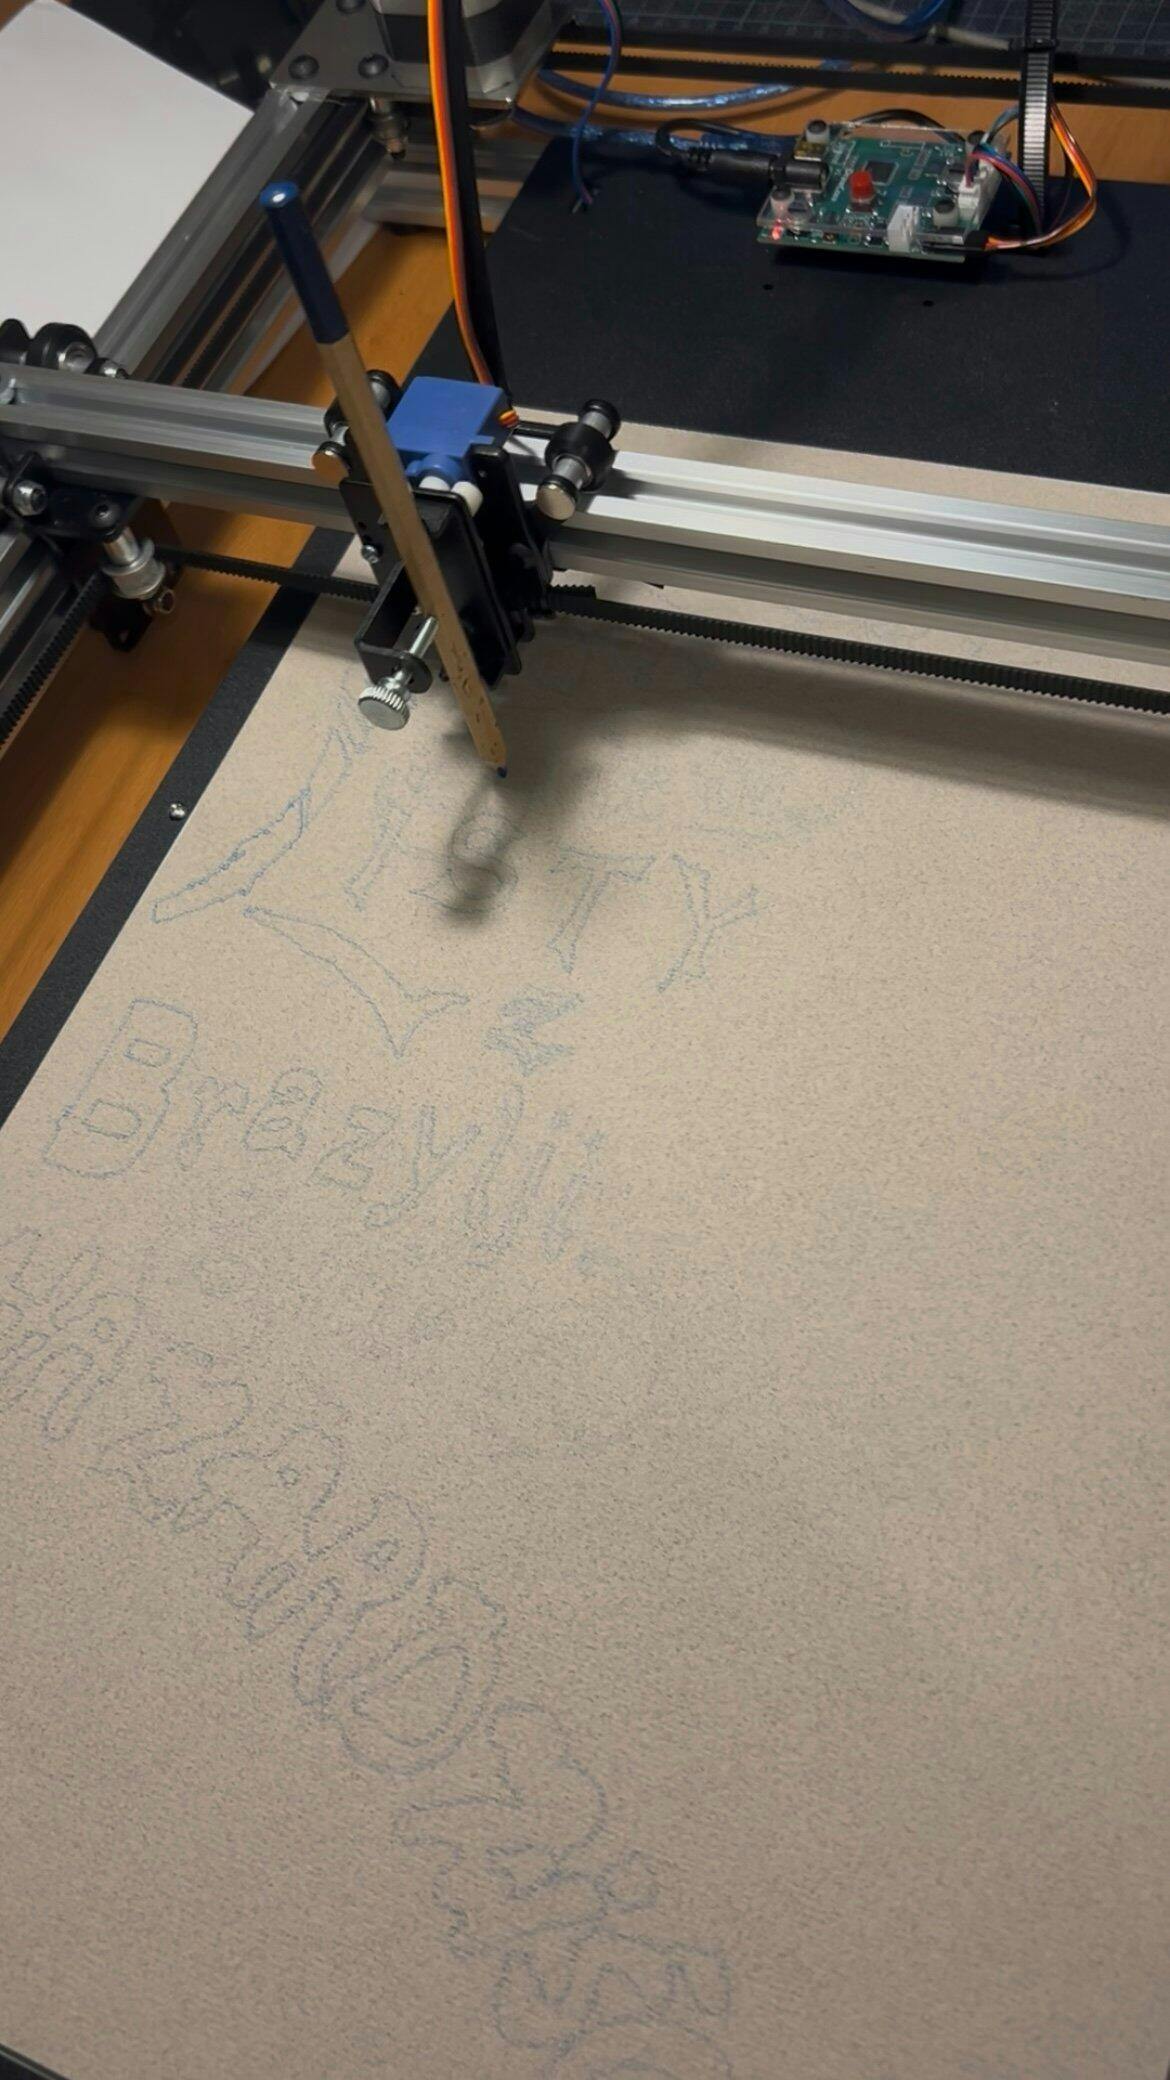
Step 10: Load the pen and paper into iDraw H SE
Mount your pen and paper on the iDraw H SE pen plotter and secure them.
Then in Inkscape go to:
Extensions > iDraw H SE Control
Click Apply to start plotting.
Your drawing will begin!

Step 11: Final result
Here is the final hand-drawn artwork output from the pen plotter.

Final Thoughts
This workflow lets you turn photos into pen-plotted artwork with:
- Real pen texture
- Unique artistic shading
- Natural hand-drawn feel
Using tools like Inkscape and iDraw Utilities, anyone can bring digital art to paper in a stunning way.
If you're looking to explore creative automation or professional-grade pen drawing machines, the iDraw H SE Pen Plotter is a powerful, accessible tool for artists, calligraphers, designers, and hobby makers.